

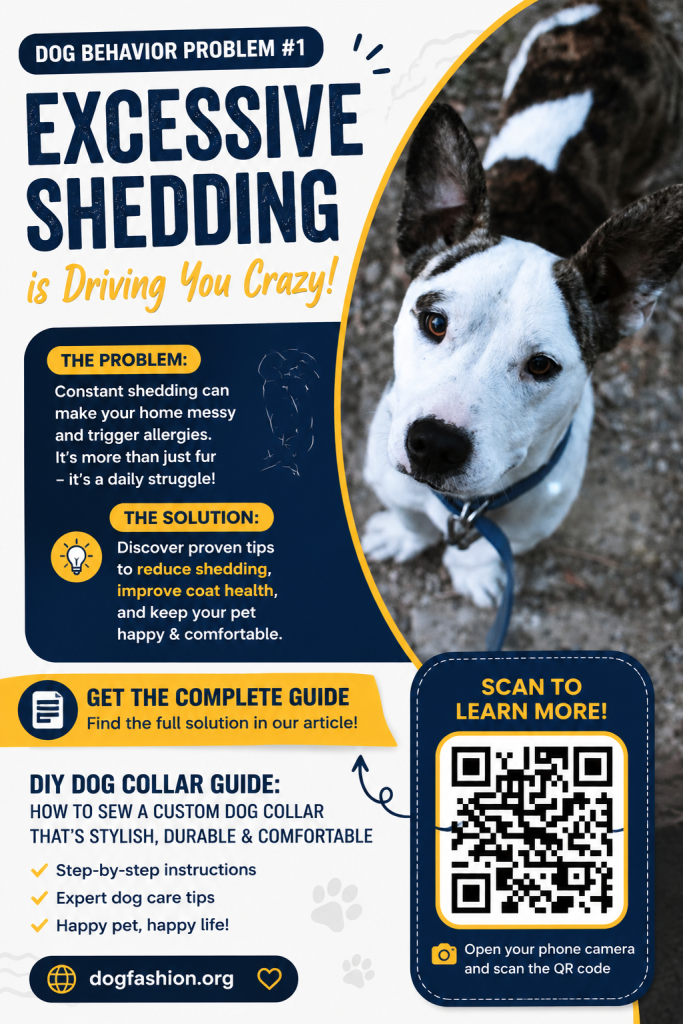
Why Make Your Own Dog Collar?
A dog collar is more than just an accessory. It is an essential piece of equipment that helps keep your dog safe, secure, and identifiable. While pet stores offer countless collar options, creating your own DIY dog collar allows you to customize the size, style, colors, and durability to suit your dog’s unique personality and needs.
Homemade dog collars are becoming increasingly popular among pet owners who enjoy crafting and sewing. Not only can you save money, but you can also create a one-of-a-kind collar that perfectly matches your dog’s character.
Whether you have a tiny puppy, an energetic medium-sized dog, or a large breed that needs extra strength, making your own collar gives you complete control over the materials and construction.
In this guide, you’ll learn everything you need to know about creating a professional-looking dog collar from scratch.
Benefits of Making a DIY Dog Collar
Before diving into the sewing process, it’s worth understanding why so many pet owners are choosing to make collars themselves.
1. Perfect Fit
Store-bought collars often fall between standard sizes. A custom-made collar ensures a precise fit for your dog’s neck measurements.
2. Unique Design
You can select fabrics, colors, and patterns that reflect your dog’s personality.
3. Better Quality Control
When you make your own collar, you choose the materials. This allows you to use strong webbing, quality hardware, and durable stitching.
4. Cost Savings
After purchasing basic supplies, making additional collars becomes very affordable.
5. Creative Satisfaction
There is something rewarding about seeing your dog proudly wear something you created yourself.
Supplies Needed for a DIY Dog Collar
Before beginning, gather all necessary materials.
Materials
- Nylon webbing
- Decorative fabric
- Plastic buckle
- Slider adjustment buckle
- D-ring
- Matching thread
Tools
- Sewing machine
- Measuring tape
- Fabric scissors
- Lighter or heat source
- Iron
- Pins or clips
- Ruler
Using strong materials is critical because a collar experiences daily wear and tear.
Choosing the Right Webbing
The webbing forms the structural foundation of the collar.
Nylon webbing is one of the most popular choices because it is:
- Strong
- Lightweight
- Flexible
- Water-resistant
- Easy to sew
The width of the webbing should correspond to your dog’s size.
Suggested Widths
Small dogs:
- ½ inch to ¾ inch
Medium dogs:
- ¾ inch to 1 inch
Large dogs:
- 1 inch to 1½ inches
The stronger the dog, the more important it becomes to use heavy-duty webbing.
Measuring Your Dog’s Neck Correctly
Accurate measurements are essential.
Using a flexible measuring tape:
- Wrap the tape around the dog’s neck.
- Ensure it sits where the collar will naturally rest.
- Leave enough room for two fingers between the tape and neck.
- Record the measurement.
Once you have the neck measurement, add approximately 10 inches (25 cm) to determine the total webbing length required.
This extra length accommodates:
- Hardware
- Adjustment range
- Folding and sewing allowances
Preparing the Nylon Webbing
Cut the webbing according to your calculated measurement.
After cutting, nylon edges may fray over time.
To prevent fraying:
- Carefully pass each cut edge near a flame.
- Allow the nylon fibers to melt slightly.
- Let cool completely.
This process seals the ends and greatly increases durability.
Be cautious not to overheat the material.
Selecting Fabric for Decoration
The decorative fabric gives the collar its personality.
Popular choices include:
- Cotton prints
- Plaid fabrics
- Floral patterns
- Holiday themes
- Sports team colors
- Personalized designs
Choose a medium-weight fabric that can withstand regular use.
Avoid:
- Extremely thin fabrics
- Stretch fabrics
- Delicate materials
These may wear out quickly.
Cutting the Fabric
The decorative fabric wraps around the nylon webbing.
Cut the fabric:
- Four times wider than the webbing
- Approximately ½ inch longer than the strap
This provides enough material to fold and cover the webbing neatly.
Proper cutting helps create a professional-looking finished product.
Pressing the Fabric
Ironing is one of the most important steps.
Many beginners skip pressing and end up with uneven results.
Follow these steps:
Step 1
Fold the fabric lengthwise in half.
Press firmly.
Step 2
Open the fabric.
You should see a center crease.
Step 3
Fold each raw edge toward the center crease.
Press again.
Step 4
Fold the outer edges inward approximately ¼ inch (5 mm).
Press thoroughly.
The fabric should now resemble bias tape.
Inserting the Webbing
Place the nylon webbing inside the folded fabric.
The fabric should completely wrap around the strap.
Check that:
- Edges are even
- Fabric lies flat
- No raw edges are visible
Use clips or pins if needed.
This preparation makes sewing much easier.
Topstitching the Collar
Topstitching secures the decorative fabric to the webbing.
Using a sewing machine:
- Sew close to one edge.
- Continue along the entire length.
- Sew the opposite side.
Maintain a straight line for a professional appearance.
Topstitching serves two purposes:
- Secures the fabric
- Adds decorative detail
Take your time during this step.
Installing the Slider
The slider allows the collar size to be adjusted.
To install:
- Thread one end of the strap through the slider.
- Fold the strap back on itself.
- Leave approximately 1 to 2 inches.
Now stitch the folded section securely.
Reinforcing the Stitching
A dog collar experiences constant tension.
To strengthen the connection:
Sew a rectangle.
Then sew an X through the rectangle.
This is commonly known as a “box-and-X” stitch.
Benefits include:
- Increased strength
- Better load distribution
- Professional appearance
You may sew over the pattern multiple times for added security.
Adding the Buckle
The buckle allows the collar to open and close quickly.
Take the pronged side of the buckle.
Thread the strap:
- Over the first bar
- Under the center bar
Pull the strap through.
Position the buckle approximately 4 inches from the slider.
This placement provides sufficient adjustment range.
Threading Through the Slider
Next, route the strap:
- Under the slider
- Over the center bar
- Back through the opposite side
This creates the adjustable section of the collar.
Test the adjustment before moving forward.
The collar should slide smoothly but hold its position firmly.
Installing the D-Ring
The D-ring is essential.
It provides a secure attachment point for:
- Leashes
- Identification tags
- GPS trackers
- Training accessories
Slide the D-ring onto the strap before attaching the final buckle piece.
Many people accidentally forget this step.
Always double-check before sewing.
Attaching the Second Buckle Half
Take the remaining side of the buckle.
Thread the strap through it.
Fold the strap back.
Position the D-ring between the buckle and folded section.
Keep the D-ring as close to the buckle as possible.
This positioning reduces stress on the collar.
Final Stitching
Now secure the final section.
Again, use the box-and-X stitching pattern.
This connection experiences the highest stress during leash pulling.
For maximum durability:
- Use heavy-duty thread
- Sew multiple passes
- Backstitch at beginning and end
The final result should be extremely secure.
Testing the Collar
Before putting the collar on your dog:
Visual Inspection
Check for:
- Loose threads
- Uneven stitching
- Sharp hardware edges
Strength Test
Pull firmly on:
- Buckle
- D-ring
- Adjustment slider
Nothing should shift or loosen.
Fit Test
Place the collar on your dog.
You should comfortably fit two fingers underneath.
A properly fitted collar should not:
- Choke the dog
- Slip over the head
Creative Customization Ideas
One of the best parts of DIY collars is customization.
Consider adding:
Embroidery
Add your dog’s name.
Reflective Materials
Increase nighttime visibility.
Seasonal Themes
Create collars for:
- Christmas
- Halloween
- Valentine’s Day
- Summer
Matching Accessories
Make matching:
- Leashes
- Bandanas
- Harnesses
This creates a coordinated look.
Safety Considerations
Always prioritize safety over appearance.
Important guidelines:
Inspect Regularly
Check collars monthly for wear.
Replace Damaged Hardware
Cracked buckles should be replaced immediately.
Monitor Stitching
Reinforce any loose seams.
Remove During Unsupervised Play
Collars can occasionally become snagged.
Many pet owners remove collars indoors when dogs are unsupervised.
Common Mistakes to Avoid
Incorrect Measurements
A poor fit can cause discomfort.
Weak Stitching
Always reinforce stress points.
Cheap Hardware
Low-quality buckles may fail unexpectedly.
Skipping Fabric Pressing
Pressed fabric produces cleaner results.
Forgetting the D-Ring
Many beginners realize too late that the D-ring was never installed.
Double-check before sewing.
Why Handmade Collars Often Last Longer
Commercial collars are often mass-produced.
Some use:
- Thin stitching
- Lower-grade hardware
- Lightweight materials
A carefully made DIY collar can exceed the quality of many store-bought alternatives.
The secret lies in:
- Strong webbing
- Quality hardware
- Reinforced stitching
- Attention to detail
Final Thoughts
Creating your own dog collar is a fun, rewarding project that combines creativity with practicality. With a few basic sewing skills and quality materials, you can produce a collar that is attractive, durable, comfortable, and uniquely tailored to your dog’s needs.
From measuring and cutting to stitching and assembly, each step contributes to a finished product that reflects your care and craftsmanship. Whether you’re making a collar for your own dog or creating personalized gifts for fellow pet lovers, the process is both enjoyable and highly practical.
The best part? Every time your dog wears that collar, you’ll know it was made with love, attention to detail, and a personal touch that no store-bought product can truly match.
Happy sewing, and enjoy creating a custom collar your dog will proudly wear every day!